I know you all have been waiting for a tip or a trick. This Tips 'n' Tricks post will help you take angle shots to better enhance the over all look of your photo. The first angle I will show you is the aerial. The aerial view is not for everything, (great for flowers though!) and I used an American Girl doll for all these angles to make it easier for you to see the various angles I used. The doll may not be the best representation of these angles, please note. To do the aerial view, you need a steady hand or a tripod to do this. Just take a picture of the top of the object. Here is my aerial picture.
The next angle shot I will show you is a bit like the aerial, but it is better to use when taking pictures of objects like the doll and even real people. I call it the aerial front view. It isn't taken directly above the object as you can see from my picture, but slightly forward, so that you can see the doll's face easier. Here is my aerial front view of my doll:
The next angle shot is just a straight on view, which is what people take normally. I'm sure you don't need any instruction or even a picture, but I will provide a picture anyway so you can compare the angle shots, and see which one best suits you.
The next angle shot I will share with you is called a "sub shot". You take a picture from beneath the object. This is the technique I used in taking the photo in Flowers in My Backyard. It was the pictuure with the purple flower underneath a bird feeder. If you can get the picture focused correctly, you can get a beautiful picture out of it. Just make sure the picture is focused correctly. This is key. My "sub shot" is shown above this text.
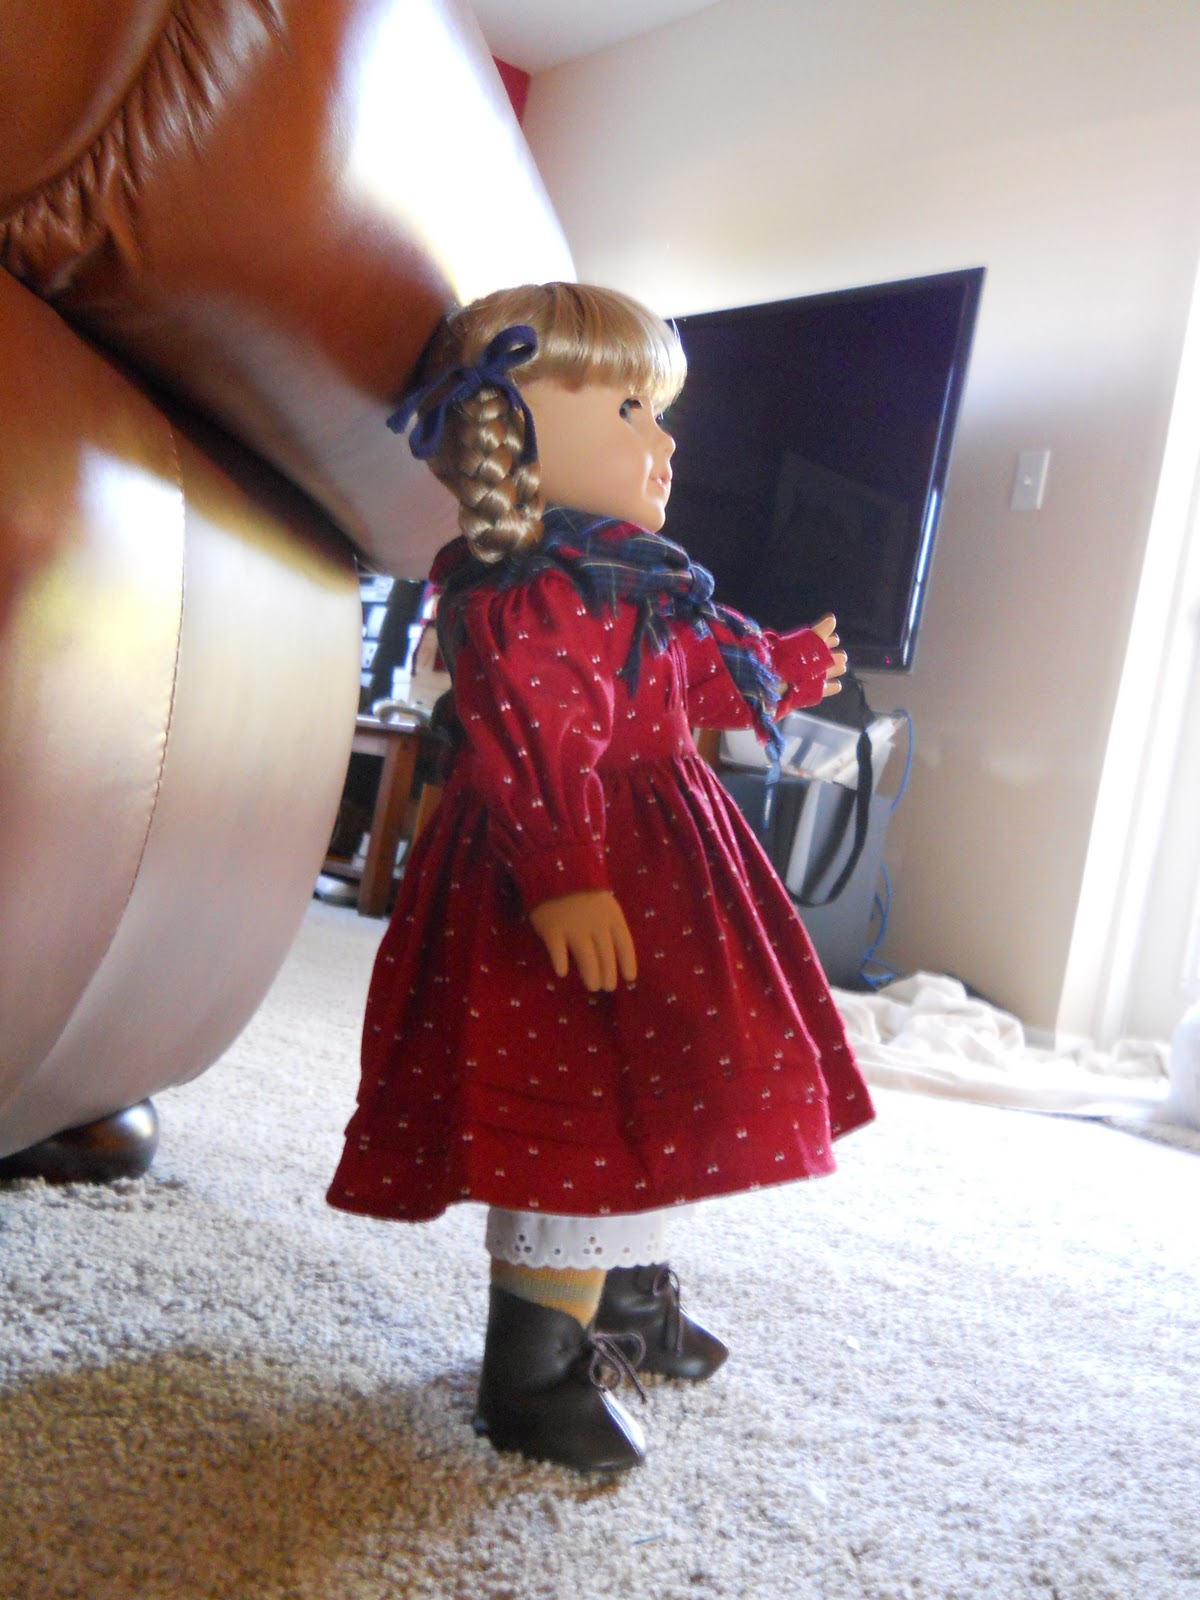
The final angle shot you can create to enhance your pictures is an side angle shot. It is more of the well known techniques and photographers use it often. Just take a picture of the side of an object, all the while making sure the photo is focused. Above is my side angle shot. Please excuse the background. Hope these help. You can comment and give me more ideas on what you want my next tips 'n' tricks should be.